Introduction
Shopware is a trendsetting ecommerce platform to power your online business. It offers a combination of beauty & brains needed to build and customize a fully responsive online store. In this tutorial, we will learn how to install and configure Shopware 6 with Nginx on Ubuntu 20.04.
Prerequisites
- Make sure you are logged in with a user with sudo access to the server.
- A registered domain with the required records as follows:
- A record with
example.comand a reference to the server’s IP address - A record with
www.example.comand a reference to the server’s IP address (optional)
- A record with
Note: example.com is your domain address (for example hetzner.com)
Step 1 – Installing Nginx, MariaDB and PHP-FPM
Before begin installation of packages, we will update the local packages index using the following command:
sudo apt updateWe can now install Nginx, MariaDB and PHP-FPM with the following command:
sudo apt install unzip nginx php7.4-fpm php7.4-mysql php7.4-json php7.4-curl php7.4-gd php7.4-xml php7.4-zip php7.4-opcache php7.4-mbstring php7.4-intl php7.4-cli mariadb-serverTo confirm the installation, press enter and then all related packages will be installed.
Step 2 – Creating a database and user for the Shopware database
Shopware will need credentials to connect to the database. We will create a new MySQL user and a new MySQL Database. With the command mysql we start a new mysql session. In this MySQL session we create a new database named shopware using the following query:
CREATE DATABASE shopware;Next we will create a new MySQL user shopware using the following query:
CREATE USER 'shopware'@'localhost' IDENTIFIED BY 'my-strong-password-here';As a last step we will need to give the new user priviledge to acces our new database using the follow query:
GRANT ALL PRIVILEGES ON shopware.* TO 'shopware'@'localhost';Step 3 – Configuring PHP/PHP-FPM
To match the requirements of Shopware 6, we will need to adjust some php.ini settings. The php.ini used by PHP-FPM can be found under /etc/php/7.4/fpm/php.ini. We can open it with an editor like nano:
sudo nano /etc/php/7.4/fpm/php.iniWe then search with CTRL + W for memory_limit = and set the value from 128 to 512.
Next we will change the upload limits for files. Search again, this time for post_max_size = and upload_max_filesize = using STRG + W and replace the values with 32M.
This will allow us to upload larger files to the media manager. We can save the file with STRG + O and leave the editor with STRG + X.
After configuring we can restart the PHP-FPM server using the command:
sudo systemctl restart php7.4-fpmIt should be also marked to start on boot:
sudo systemctl enable php7.4-fpmStep 4 – Configuring Nginx
The default vhost configuration can be found under /etc/nginx/sites-enabled/default. We will edit it to add the Shopware vhost configuration:
sudo nano /etc/nginx/sites-enabled/defaultReplace the content with:
server {
    listen 80;

    # Handle / to index.php
    index index.php;

    # Our server name
    server_name example.com;

    # Should be equal to post_max_size
    client_max_body_size 128M;

    # Where the code is located
    root /var/www/html/public;

    # Needed for Shopware install / update
    location /recovery/install {
        index index.php;
        try_files $uri /recovery/install/index.php$is_args$args;
    }

    location /recovery/update/ {
        location /recovery/update/assets {
        }
        if (!-e $request_filename){
            rewrite . /recovery/update/index.php last;
        }
    }

    # Foward any not found file to index.php. Allows to have beautiful urls like /homemade-products/
    location / {
        try_files $uri /index.php$is_args$args;
    }

    # Let php-fpm handle .php files
    location ~ \.php$ {
        fastcgi_split_path_info ^(.+\.php)(/.+)$;
        include fastcgi.conf;
        fastcgi_param HTTP_PROXY "";
        fastcgi_buffers 8 16k;
        fastcgi_buffer_size 32k;
        fastcgi_read_timeout 300s;
        client_body_buffer_size 128k;
        fastcgi_pass unix:/run/php/php7.4-fpm.sock;
        http2_push_preload on;
    }
}
Now we can restart nginx and mark it to start on boot:
sudo systemctl restart nginx
sudo systemctl enable nginx
Step 5 – Installing Shopware 6
After configuring MariaDB, PHP and Nginx we start the installation of Shopware. We will install it to /var/www/html.
cd /var/www/htmlRemove default file in this folder:
sudo rm index.nginx-debian.htmlDownload Shopware 6 (see https://www.shopware.com/en/changelog/ for latest versions):
sudo wget https://releases.shopware.com/sw6/install_6.2.0_1589874223.zipUnzip:
sudo unzip install_6.2.0_1589874223.zipRemove zip:
sudo rm install_6.2.0_1589874223.zipCorrect permissions:
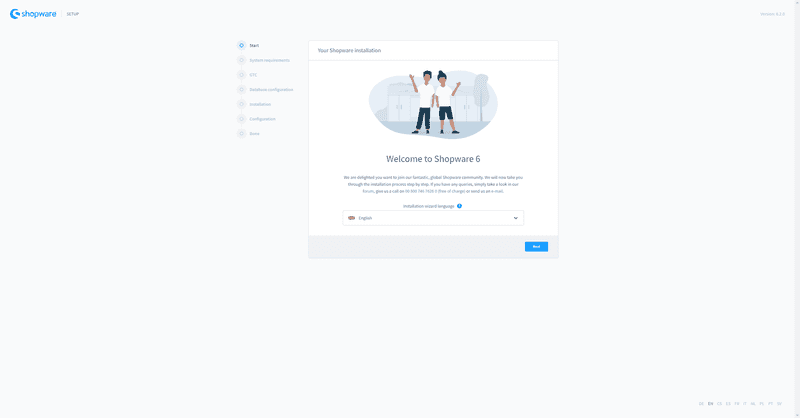
sudo chown -R www-data:www-data .Now we can access the installation wizard using our domain.
In the Database Configuration we can use the configured credentials:
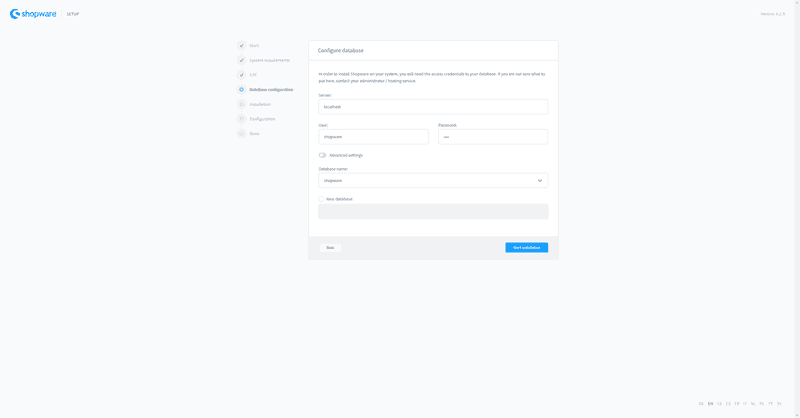
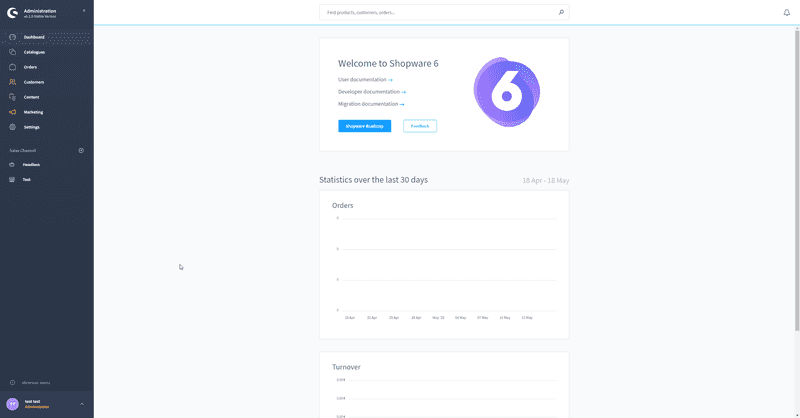
After finishing the wizard and the first run wizard the Shop is ready for use.
Step 6 – Configuring background queue worker
In the default configuration Shopware 6 will run a browser worker to consume all background tasks. This will block PHP-FPM processes for 30s. When multiple tabs / users are working at the same time in the administration, it will slow down page speed. To fix these issues we will configure a background worker using systemd.
To disable the current browser worker, we will create a new file config/packages/shopware.yaml:
sudo nano /var/www/html/config/packages/shopware.yamlThen disable it with the following config:
shopware:
    admin_worker:
        enable_admin_worker: false
To activate the config we need to clear the cache:
sudo -u www-data php bin/console cache:clearNow we can create a new systemd unit which interacts as worker. For that we have to create these two new files:
/etc/systemd/system/shopware_consumer.service– Consumes messages from queue./etc/systemd/system/shopware_scheduled_task.service– Runs scheduled tasks
sudo nano /etc/systemd/system/shopware_consumer.serviceAdd the following unit there:
[Unit]
Description=Shopware Consumer
After=mysql.service

[Service]
Type=simple
User=www-data
Restart=always
ExecStart=/usr/bin/php /var/www/html/bin/console messenger:consume --time-limit=60 --memory-limit=512M
Now we setup the shopware scheduled tasks runner:
sudo nano /etc/systemd/system/shopware_scheduled_task.serviceAdd the following unit there:
[Unit]
Description=Shopware Scheduled Task
After=mysql.service

[Service]
Type=simple
User=www-data
Restart=always
ExecStart=/usr/bin/php /var/www/html/bin/console scheduled-task:run --time-limit=60 --memory-limit=512M
The processes will have a time limit of 60s and memory limit of 512m. After reaching a limit it will stop and the unit will restart the process. Now we can start the workers with following commands:
sudo systemctl start shopware_consumer
sudo systemctl start shopware_scheduled_task
sudo systemctl enable shopware_consumer
sudo systemctl enable shopware_scheduled_task
Step 7 – Configuring Letsencrypt
To configure Letsencrypt for our new virtual host in Nginx, please follow the Install and Secure Nginx with Let’s Encrypt tutorial.
Conclusion
By following this tutorial you will have a shop running with Shopware 6. The next steps would be to start adding products and configuring payment providers.
Reprint:https://community.hetzner.com/tutorials/install-shopware-6
Leave a Reply