Introduction
Netdata is a distributed, real-time performance and health monitoring tool for systems and applications. It is a highly-optimized monitoring agent that can be installed on Linux servers.
In this tutorial, we’re going to install Netdata and learn how to prevent public access to its web interface since Netdata doesn’t provide authentication by itself.
Prerequisites
- A fresh CentOS or Ubuntu installation (almost all mainstream distributions are supported though)
- Root access to the server
Step 1 – Install and configure Netdata
Step 1.1 – Installation
In order to install the latest version of Netdata, you can use a bash script provided by Netdata.
There are alternative methods of installation which you can check out on the Netdata website.
Simply run the following in your terminal:
bash <(curl -Ss https://my-netdata.io/kickstart.sh)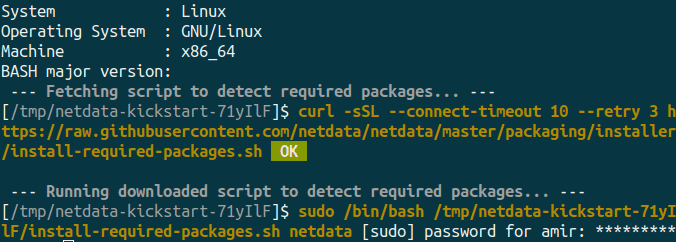
You should see something like the picture above. It’ll ask you for your sudo password if you’re not running the script as root.
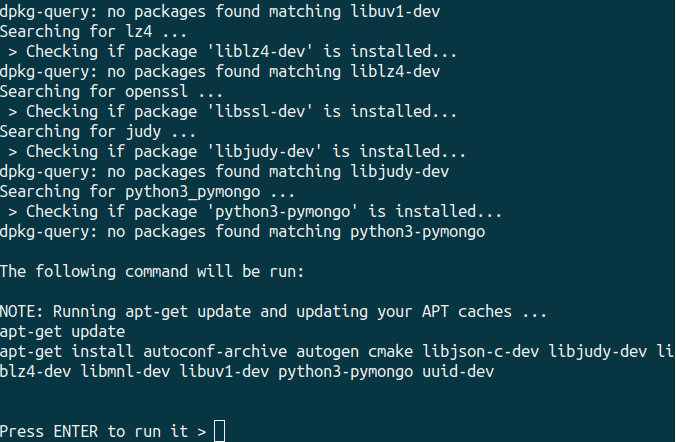
After providing the sudo password, it’ll let you know what necessary dependencies are missing so you can install them by pressing ENTER.
Once done, Netdata is automatically started and enabled on systemd. Check the status via systemctl:
systemctl status netdataYou can now access Netdata web interface via <your_host>:19999
Step 1.2 – Configuration
Now we need to make sure Netdata only listens on 127.0.0.1 since we don’t want the web interface to be accessible on the internet.
Open the /etc/netdata/netdata.conf file with an editor of your choice.
sudo nano /etc/netdata/netdata.confFind the [web] section and uncomment the bind to setting and replace it with the following:
bind to = 127.0.0.1Step 2 – Install and configure NGINX
In this step, we will install NGINX to set up a reverse proxy so we’re able to access the Netdata web interface securely.
Step 2.1 – Installation
You can install NGINX and apache2-utils by running the following commands: (apache2-utils is needed for the second part of this step)
Debian/Ubuntu:
sudo apt install nginx apache2-utilsRedhat/CentOS/Fedora:
sudo yum install nginx apache2-utilsYour NGINX setup should be good to go.
Step 2.2 – Setup Authentication
Run this command to create a username-password pair:
sudo htpasswd -c /etc/nginx/.htpasswd user1Press Enter and type the password for user1 at the prompts.
Confirm that the username-password pair has been created by running:
cat /etc/nginx/.htpasswdStep 2.3 – Configuration
Open your NGINX configuration file (nginx.conf) and find the http block. (Your nginx.conf file usually is located in /usr/local/nginx/conf, /etc/nginx, or /usr/local/etc/nginx)
Add the following lines into your http block:
upstream backend {
   server 127.0.0.1:19999;
   keepalive 64;
}

server {
   listen <10.0.0.1>:80;
   server_name <example.com>;

   auth_basic "Protected";
   auth_basic_user_file /etc/nginx/.htpasswd;

   location / {
     proxy_set_header X-Forwarded-Host $host;
     proxy_set_header X-Forwarded-Server $host;
     proxy_set_header X-Forwarded-For $proxy_add_x_forwarded_for;
     proxy_pass http://backend;
     proxy_http_version 1.1;
     proxy_pass_request_headers on;
     proxy_set_header Connection "keep-alive";
     proxy_store off;
   }
}- Replace
<10.0.0.1>with your public IP Address. - Replace
<example.com>with your own domain.
Save the configuration file and close it. Then verify the configuration to check if everything is OK.
sudo nginx -tGo ahead and reload NGINX if there was no error:
sudo systemctl reload nginxOpen your browser and navigate to <10.0.0.1> or <example.com>. Use your username-password pair to access the web interface.
Conclusion
In this tutorial we installed Netdata and used NGINX to set up a reverse proxy so we’re able to prevent public access to the Netdata web interface.
Reprint:https://community.hetzner.com/tutorials/install-secure-netdata
Leave a Reply